Because of the high precision requirements for processed products, things that need to be considered when programming are:
First, consider the processing sequence of the parts:
1. Drill holes first and then flatten the end (this is to prevent material shrinkage during drilling);
2. Rough turning first, then fine turning (this is to ensure the accuracy of the parts);
3. Process the parts with large tolerances first and process the parts with small tolerances last (this is to ensure that the surface of small tolerance dimensions is not scratched and to prevent parts from deforming).
According to the hardness of the material, choose a reasonable rotation speed, feed amount and depth of cut:
1. Choose high speed, high feed rate and large depth of cut as carbon steel material. For example: 1Gr11, select S1600, F0.2, depth of cut 2mm;
2. For cemented carbide, choose low speed, low feed rate, and small depth of cut. For example: GH4033, select S800, F0.08, depth of cut 0.5mm;
3. For titanium alloy, choose low speed, high feed rate and small depth of cut. For example: Ti6, select S400, F0.2, depth of cut 0.3mm. Take the processing of a certain part as an example: the material is K414, which is an extra-hard material. After many tests, S360, F0.1, and cutting depth of 0.2 were finally selected before a qualified part was processed.
Knife setting skills
Tool setting is divided into tool setting instrument setting and direct tool setting. The tool setting techniques mentioned below are direct tool setting.
Xinfa CNC tools have the characteristics of good quality and low price. For details, please visit:
CNC Tools Manufacturers – China CNC Tools Factory & Suppliers (xinfatools.com)
Common tool setters
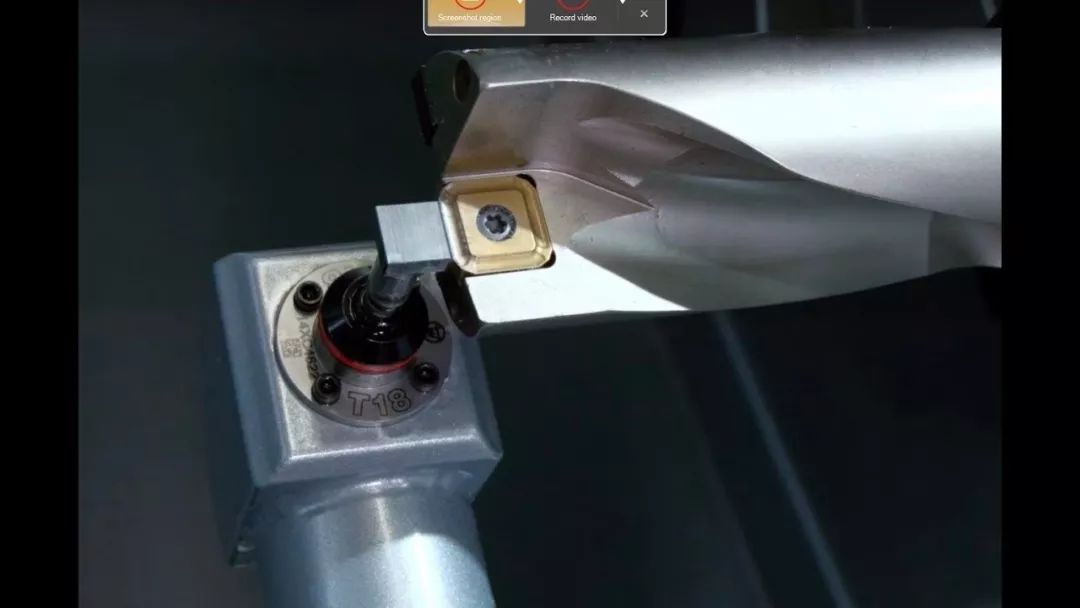
First select the center of the right end face of the part as the tool calibration point and set it as the zero point. After the machine tool returns to the origin, each tool that needs to be used is calibrated with the center of the right end face of the part as the zero point; when the tool touches the right end face, enter Z0 and click measurement. The measured value will be automatically recorded in the tool offset value, which means that the Z-axis tool alignment is correct.
X tool setting is for trial cutting. Use the tool to turn the outer circle of the part to be smaller. Measure the value of the outer circle to be turned (for example, X is 20mm) and enter X20. Click Measure. The tool offset value will automatically record the measured value. The axis is also aligned;
This method of tool setting will not change the tool setting value even if the machine tool is powered off and restarted. It can be used to produce the same parts in large quantities for a long time, and there is no need to re-calibrate the tool after shutting down the lathe.
Debugging Tips
After the parts are programmed and the knife is set, trial cutting and debugging are required to prevent program errors and tool setting errors from causing machine collisions.
You should first carry out idle stroke simulation processing, facing the tool in the coordinate system of the machine tool and move the entire part to the right by 2 to 3 times of the total length of the part; then start simulation processing. After the simulation processing is completed, confirm that the program and tool calibration are correct, and then start processing the part. Processing, after the first part is processed, first perform a self-inspection to confirm that it is qualified, and then find a full-time inspection. Only after the full-time inspection confirms that it is qualified, the debugging is completed.
Complete processing of parts
After the first piece is trial-cut, the parts will be produced in batches. However, the qualification of the first piece does not mean that the entire batch of parts will be qualified, because during the processing process, the tool will wear due to different processing materials. If the tool is soft, the tool wear will be small. If the processing material is hard, the tool will wear quickly. Therefore, during the processing process, it is necessary to check frequently and increase and decrease the tool compensation value in a timely manner to ensure that the parts are qualified.
Take a previously machined part as an example
The processing material is K414, and the total processing length is 180mm. Because the material is very hard, the tool wears very quickly during processing. From the starting point to the end point, there will be a slight gap of 10~20mm due to tool wear. Therefore, we must artificially add 10 to the program. ~20mm, so as to ensure that the parts are qualified.
The basic principles of processing: rough processing first, remove excess material from the workpiece, and then finish processing; vibration should be avoided during processing; thermal degeneration during processing of the workpiece should be avoided. There are many reasons for vibration, which may be due to excessive load; It may be the resonance of the machine tool and the workpiece, or it may be the lack of rigidity of the machine tool, or it may be caused by the blunting of the tool. We can reduce the vibration through the following methods; reduce the transverse feed amount and processing depth, and check the workpiece installation. Check whether the clamp is secure. Increasing the tool speed and lowering the speed can reduce resonance. In addition, check whether it is necessary to replace the tool with a new one.
Tips on preventing machine tool collisions
Machine tool collision will cause great damage to the accuracy of the machine tool, and the impact will be different on different types of machine tools. Generally speaking, the impact will be greater on machine tools that are not strong in rigidity. Therefore, for high-precision CNC lathes, collisions must be eliminated. As long as the operator is careful and masters certain anti-collision methods, collisions can be completely prevented and avoided.
The main reasons for collisions:
☑ The diameter and length of the tool are entered incorrectly;
☑ Incorrect input of the dimensions of the workpiece and other related geometric dimensions, as well as errors in the initial position of the workpiece;
☑ The workpiece coordinate system of the machine tool is set incorrectly, or the machine tool zero point is reset during the machining process and changes. Machine tool collisions mostly occur during the rapid movement of the machine tool. Collisions that occur at this time are also the most harmful and should be absolutely avoided. Therefore, the operator should pay special attention to the initial stage of the machine tool executing the program and when the machine tool is changing the tool. At this time, if the program editing error occurs and the diameter and length of the tool are entered incorrectly, a collision will easily occur. At the end of the program, if the retraction sequence of the CNC axis is wrong, a collision may also occur.
In order to avoid the above collision, the operator must give full play to the functions of the five senses when operating the machine tool. Observe whether there are abnormal movements of the machine tool, whether there are sparks, whether there are noises and unusual sounds, whether there are vibrations, and whether there is a burnt smell. If an abnormality is discovered, the program should be stopped immediately. The machine tool can continue to work only after the machine tool problem is solved.
Post time: Dec-19-2023


